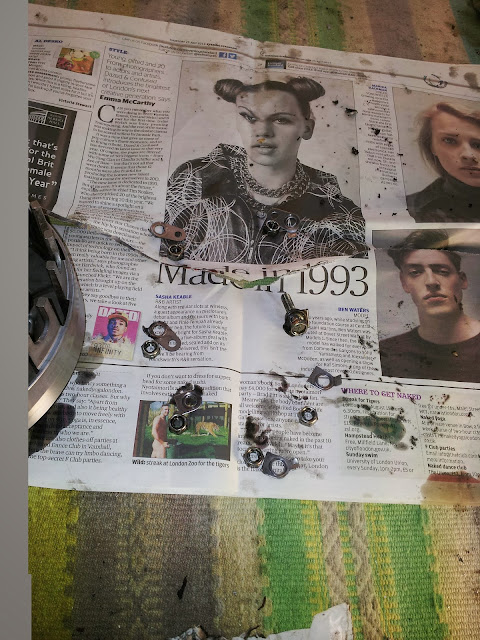
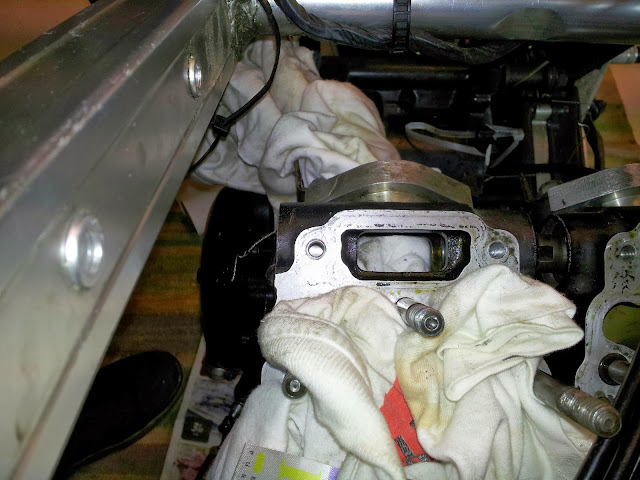
Removing the 2 allen head bolts holding the primary shaft bearing in place, then you need to remove the circlip on the outside (rotor side), the shaft then slides out (rotor side) enough so that you can twist out the shock absorbing assembley and then remove the shaft altogether. Just left to contemplate removing the big gearbox bearings or not. I will ask the welder as I don't reckon it will heat excessively.
This blog has changed more to be about the bikes in my garage than racing, but hey, I will still be using the RD 350 YPVS and the RG500 on track!
Sunday, 16 February 2014
Saturday, 15 February 2014
Water pump and sump off
A couple a taps with a piece of wood and the sump is off with the water impeller and drive still attached. It's actually quite stiff given that it is driven by a nylon gear, maybe worthwhile changing the bearing and oil seal.
Had to creat a tool to hold the primary shaft in place in order to release the primary drive cog. Two bolts in along bit of steel, worked a treat!
Next job is to remove the shaft all together.
Wednesday, 5 February 2014
Engine on the bench
I made the most of Oliver being at home to pift the engine out. Not heavy at all, but a bit fiddly on my own. So job done. I now need to remove what's left inside, water pump, primary shaft and sundries. There are a couple of oil seals that I will need to remove and hence change. I should probably remove the bearings in the gear casing as well and probably change, anyway a shopping list needs creating!
In the mean time racing calenders are available from ProClassic and VMA, but I will wait my medical tests next month to see if I can race this year. As compensation I have booked tickets for the classic TT in August at the Isle of Man, so will travelling over by bike and staying between the 22 & 28 th Aug.
Tuesday, 21 January 2014
Progress
Gearbox out, cranks out. All that is left is the pilot shaft and this can be removed with the engine on the bench.
Sunday, 12 January 2014
Stripping it down
Gearbox out this morning. Trying to make sure everything has a place, and I don't lose anything! There is a really small o ring on the gearbox output shaft that I nearly missed!
Monday, 6 January 2014
aaaarghhh engine cracked!
Yup the engine casing is cracked at the rear engine mounting point.
I am pretty sure that wasn't there before so this is probably down to my last accident, although I am not quite sure how this could happen. There were no visible signs of damage to the frame, so the only way this could have happened is if the pressure on the footrest hanger was enough to flex the frame inwards thus putting pressure on this part of the engine.
Still it's done, what do I do next? The engine is held with a big lump of casing as you can see from the photo, and the bolt goes all the way through, so I am not sure if this is really serious. The sensible thing to do however is to strip it down again, and get this welded up. Which is a right pain!
Monday, 30 December 2013
Stripped threads
Well the crankcase is back on, the pistons on with new circlips and a couple of new washers on 2 of the cylinder bolts (2.31 euros a piece for a couple of steel washers!). The heads back on and torquing up the bolts and one of the last bolts strips the thread out of the barrel - shit... of with the head and then decision time. Do I remove the cylinder to drill out the hole and rethread? In the end laziness got the better of me and I drilled, threaded and screwed in the thread insert and broke off the fitting tab and then spent some minutes ensuring no swarf had gone anywhere near the engine internals.
The head went back on and then I managed to strip the other thread on cylinder 4... I don't know if it's the temperature, the age of the aluminium or just the non-stop dismantling that these engines were probably never designed to endure.
Anyway I did the second one in situ too and it went OK. And to cut a long story short the same thing happened on the front head, so I preempted and installed thread inserts in both holes on cylinder 2. I will refit tomorrow and try and fit the front head again to see if I can torque it up correctly. I decided to do both as I had to remove the cylinder as the exhaust valve cannot be removed with the cylinder in place!


