Tuesday, 6 August 2013

Wedge finished

Had fun this morning setting up the 4 jaw chuck on the lathe in order to bore the hole in my wedge for Nr. 3 carb. Worked out OK although I need to buy a dial gauge in order to do things properly, managed to drill the initial hole and then, used the boring tool to make it bigger. It was a real pain to get it to the correct height in order to have a cutting edge without the body of the tool hitting the periphery of the hole.

Anyway that is fitted and the carb misses the rotor by about 2 mms so I think that is job done!

The disappointment of the day is that there is no way that the standard fairing will fit, on carbs 1 and 2 the carbs won't even fit with the fairing brackets in place. I need to think about how i can modify the fairing to fit!

Anyway onto the cable lengths for the new carbs!

Monday, 5 August 2013

Weekend's work

Yeeeeeee... I got my valves on Saturday morning! They look great in carbon and nice and light compared with the steel ones. Jerome forgot to send the gaskets though, but fortunately the standard gaskets gave the appropriate clearance between the covers and the valve - 0.2mm I was told it needs to be a "good" 0.2mm and it was every valve measuring around 0.25mm, so happy with that.

I did have to trim the gaskets as they were made for standard covers and valves.


While I was torquing down the front cylinder head one of the M6 bolts stripped the thread in the cylinder, so I had to remove the head, Nr.1 cylinder and fit a helicoil on the cylinder, this was only my second time using my kit, but I was certainly glad I had purchased it otherwise I would have been stuck! I was only mildly sweating as I took the portable drill to my cylinder - one false move and game over!

It worked fine, although I couldn't remove the cylinder stud so had to use a spanner to turn the tap, the helicoil went in well, although when I came to break the tab off it just bent over and I took five minutes to remove it from the head. So cylinder and head back on and torqued up!
I had to make a bracket for the fairing lowers, which was missing from the main fairing brackets, and the biggest job of the weekend was making a "wedge" to angle the Nr.3 carb up on the milling machine.

After much thought I used the Mark Dent wedge (which didn't fit my covers due to a different screw to screw hole measurement) to give me the good angle. I placed my bit of ally on top of the MD wedge, and then I had to try and hold the whole thing in place. I managed to get it solidly installed on the bed of the mill, then I proceeded to remove material from the ally, having to avoid my fixing points. This worked OK, and once I was down to 1mm of material on the top side, I removed the piece and then had to trim off the excess material, with my dremel using the cutter. I am reasonabley pleased with the result, although I need to spend some time smartening it up! Next I need to fit my 4 jaw chuck and bore the hole int he middle! The MD wedge is on the right.
The next big job will be making the cables for the carbs, I tested the standard cables on the bigger carbs and they are missing between one and two centimetres - Grrrrrr! I hope I can find the nipples I used on the RD350 when I was messing with the VM34's!


Friday, 2 August 2013

Still waiting for rotary disks...

Just a quickie. Jerome at Classic Racing didn't have the correct rivetting tool to setup the carbon disks after having cut them to the new profile, so he had to buy the correct tool, so another 5 days wasted. I am still waiting to hear from him, hopefully in time for Ledenon on the 10/11th August.

I still need to :-
  1. Align the new fairing and drill the fixing holes and fit some fasteners
  2. Continue to finish the engine (I am up to the barrels) and new some (ordered) O'rings to fit the heads and finish the engine.
  3. Setup the new carbs dependant on getting the rotary disks (going for 280/290 front/back initially)
  4. Fit the new carbs with hopefully standard cables and springs
  5. Fit the new choke to handlebar...
  6. Make a wedge to lift the Nr. 3 carb away from the rotor
  7. Setup the zeeltronic ignition to retard the startup timing.
Looking dodgy with all that to do, but will try and get it finished!


Wednesday, 24 July 2013

Engine re-assembley

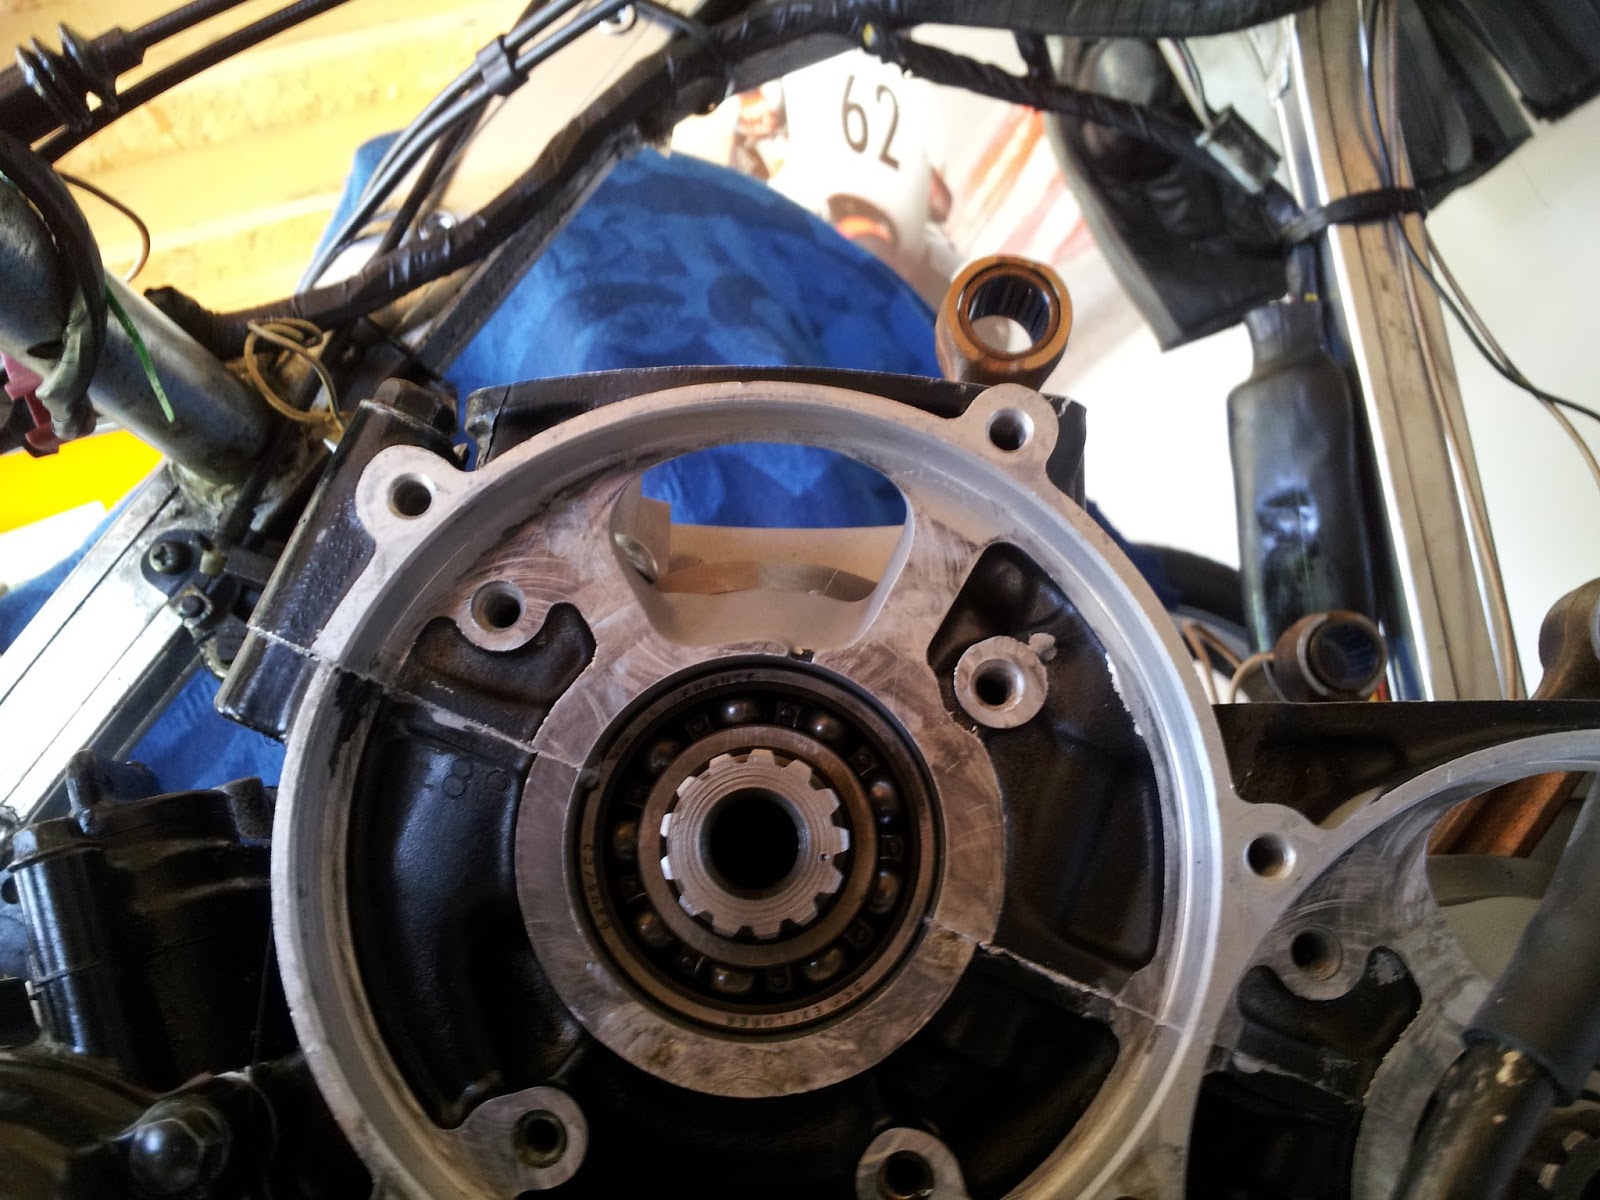
So, yesterday evening I got the crankcase upper back on and also the cylinders. A couple of tips for the future. I used one of Libby's (old) paint brushes to apply the very fluid gasket cement on the crankcase lower - this worked really well - much cleaner than the last time I did it on the upper. Although must be sure to wipe away any traces of oil otherwise it doesn't stick well.

Before putting the crankcase on, I set about trying to remember which bolts went where on the crankcase :-

It took me some time, as I hadn't taken a photo coz I thought I knew it !

I thought I would make a readable picture to print out for the next time

Torqued up everything as per manual, and then set about the pistons and cylinders. The pistons had a bit of carbon build up which I tried scraping off, but seemed to be doing more damage with the scraping than leaving the carbon - so it got left! Pistons 3 and 4 show small signs of detonation, but I consider OK for the moment, I didn't fit new rings as they all seemed good!

The cylinders all went on without too much hassle, but again lack of photos slowed me down.
You need to fit the exhaust valve on cylinder 2 before fitting the cylinder - it is impossible afterwards, so I thought I would quickly identify which exhaust valve went where.... doh... The valve cables are number 1-4, which for a moment I confused with cylinder numbering..... After some thought and a lot of looking around in the manul etc. I found the following to be true :-

The cables 1 & 2 are the short ones and connect to cylinder 4
The cables 3 & 4 are the long ones that connect to cylinder 2
The pulley with the stop on it goes on cylinder 4
You need to install the valve in cylinder 2 before installing the cylinder (or you have to move the engine to get it in).

The little ridges in the valves go on the piston side.

Plus the rear pulley should have the "stop" protrusion on it - part 16 on the below diagram :
And the cover of the rear pulley should have the small angle covering the "stop" protrusion.
To make things easy all the alignment marks on the pulleys and on the servo motor should be aligned, then you know all the valves are open and they should be setup like this.

Unfortunately I can not get further because my tuner didn't keep the little O'rings on the cylinder bolts, so I had to order more from Suzuki, I will get them at the end of the week along with the Carbon rotary valves, which have now been sent - thanks Jerome!

Jobs still to be done :-
1/. Fabricate another wedge
2/. Check carbon valve clearance and adjust with smaller gaskets as necessary (a big 0.2 mms clearance is necessary)

Off to a wedding tomorrow, more news next week.

Monday, 22 July 2013

Engine Work done

Went back to Nantes on Friday to pickup my crankcase and other bits. The guy seems to have done a pretty good job at opening the inlet ports they are all very smooth, and fit the inner disk covers nicely, he also cleaned up and mated the cylinders to the crankcase which was good - all round I am pretty pleased although it was more expensive than I had planned!

You can see in the photos the new rotary disk inners and outers (Maranello Engineering), which look great quality, but Franco couldn't get the carbon disks to my guy in time, so I came away without the carbon rotary disks which Jerome will send me after having cut them to keep the same valve timing as Mark Dent had originally tuned in on the steel ones.

I have to alter the wedge (I bought from Performance Fabrications) because firstly it no longer fits the bolt to bolt width of the new covers, but also the inlet port doesn't line up very well - I will try to make one on my milling machine !

So I now have to URGENTLY get everything together as I only have a few days working at it before our holiday in the UK, and then in the South of France for a few days, in order to be ready for track day time at Ledenon on the 10/11th August.


Wednesday, 12 June 2013

Made some bar ends

The daytona has always made my thumbs go to sleep with a slight vibration but as we are going to Italy I thought I would do something about it. On the forums they add fishing lead weights inside the clipons, but my bars are blocked at both ends so I thought I would buy some cheap heavy bar ends. Went to Triumphs to show them Libby's bike (the headlights are cracked again plus the rear LED light is only half working). They only real light aluminium ones, but the guy gave me some off another bike - real heavy, however I needed to turn down a step that wouldn't suit my bike, plus the screws were too big a diameter. Never mind, I milled off the step and turned down the screws and threaded to the smaller size - perfect when you've got the tools.

Monday, 3 June 2013

Moto Legend

Had a nice weekend up at Dijon Prenois spectating at the Moto Legend event. Only stayed Saturday afternoon, but they make you pay 24 Euros for the weekend all the same - what a rip off. It's a shame because it is a nice event but it will be the last time I go.

Nice RG 500 club stand with about 10 bikes, I think it's the most RG's I've seen in one place at one time.

We stayed in a friends lovely house in the Bourgogne region, and had some great wines! And guess what - we didn't even get wet!